NodeJs, no doubt that it's the popular JavaScript framework for linux, built on top of Google Chrome's v8 JavaScript engine. To install NodeJS on Ubuntu , follow the steps below one by one.
- Add the NodeSource repository
- Update the software repository
- Install NodeJS with apt
- Check Node version to confirm
However it's not the only way to install Node.js, you can install it from the default Ubuntu repository, or compile the latest version from source code.
Contents
Add the NodeSource repository
There's many NodeJS version, so first you've to decide the proper version you need.
There's two way to add the repository. First just by running a single line of linux command, second manually importing the GPG key and adding the repository.
- For NodeJS 12.x series, which is the current LTS version, use-
curl -sL https://deb.nodesource.com/setup_12.x | sudo -E bash - - For the Node 8.x series use the command below.
curl -sL https://deb.nodesource.com/setup_8.x | sudo -E bash - - To add Node 7.x series repository, use
curl -sL https://deb.nodesource.com/setup_7.x | sudo -E bash - - To add Node 6.x series repo, use
curl -sL https://deb.nodesource.com/setup_6.x | sudo -E bash - - For Node 5.x series, you can use
curl -sL https://deb.nodesource.com/setup_5.x | sudo -E bash - - For a stable NodeJS version, use this command below.
curl -sL https://deb.nodesource.com/setup | sudo -E bash -
To get a full list of Ubuntu NodeJS versions, check here.
Optional: To manually add the repository, first you need to add the GPG key.
curl -s https://deb.nodesource.com/gpgkey/nodesource.gpg.key | sudo apt-key add -
Now check your Ubuntu version with lsb_release -sc command and choose the NodeJS version you want to install.
Then create an apt source file, under the /etc/apt/sources.list.d/ directory, and name it anything you want with a .list extension.
sudo nano /etc/apt/sources.list.d/nodesource.list
I'm currently using Ubuntu xenial (16.04.3), and want to install Node 8.x series. So I've to add the repository like below.
deb https://deb.nodesource.com/node_8.x xenial main
deb-src https://deb.nodesource.com/node_8.x xenial main
Note the two options in bold on the above line, modify it according to your Ubuntu version and Node version you prefer to install.
Adding the deb-src line is also optional, you may discard that line if you know what you're doing.
Update the software repository
Now you've to update the apt repository to make the changes in apt source file available. This step is pretty straight forward, just run the command below.
sudo apt-get update
Install NodeJS on Ubuntu with apt
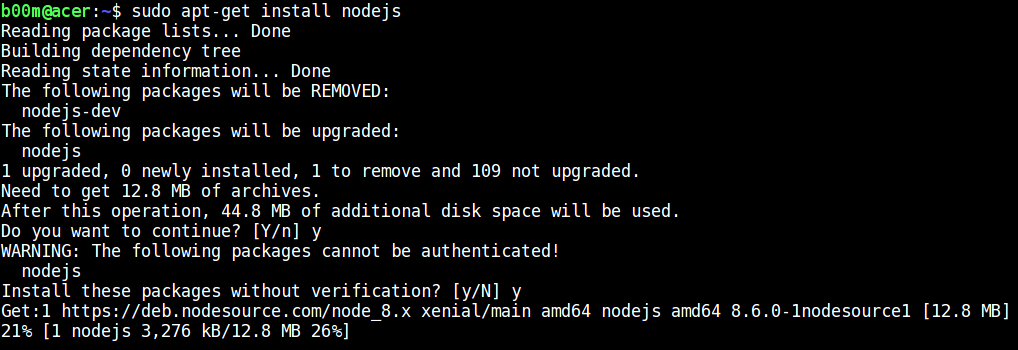
After updating the repository successfully, now you can install NodeJS on Ubuntu with apt.
sudo apt-get install nodejs

If you'were using an earlier version of NodeJS, then it will be upgraded to the latest version.
Check Node version to confirm
Now check the Ubuntu Node JS version to be sure. You can use the node --version command for that.

You can also check the NPM version with the npm --version command.
Extra - Uninstalling Node JS
To uninstall Node JS from Ubuntu, first use the apt command, then remove the PPA repository.
sudo apt-get purge nodejs && sudo apt-get autoremove --purge
This will remove node js and all it's dependencies.
Now remove the nodesource PPA repository list and update the apt repository.
sudo rm /etc/apt/sources.list.d/nodesources.list*
sudo apt-get update
Conclusion
So, that's all what you need to do to install nodejs on Ubuntu, any specific version. Also don't forget to check some NodeJS examples with linux command line.

Leave a Reply